When you're thinking about insulating your roof, you'll quickly encounter technical terms you might not be familiar with. One of those terms is 'purlins'. These important parts of your roof structure play a crucial role in insulating your roof. In this article, we'll delve deep into the world of purlins. You'll learn what they are, why they are so important, and how they help you create a comfortable and energy-efficient home.
What are purlins?
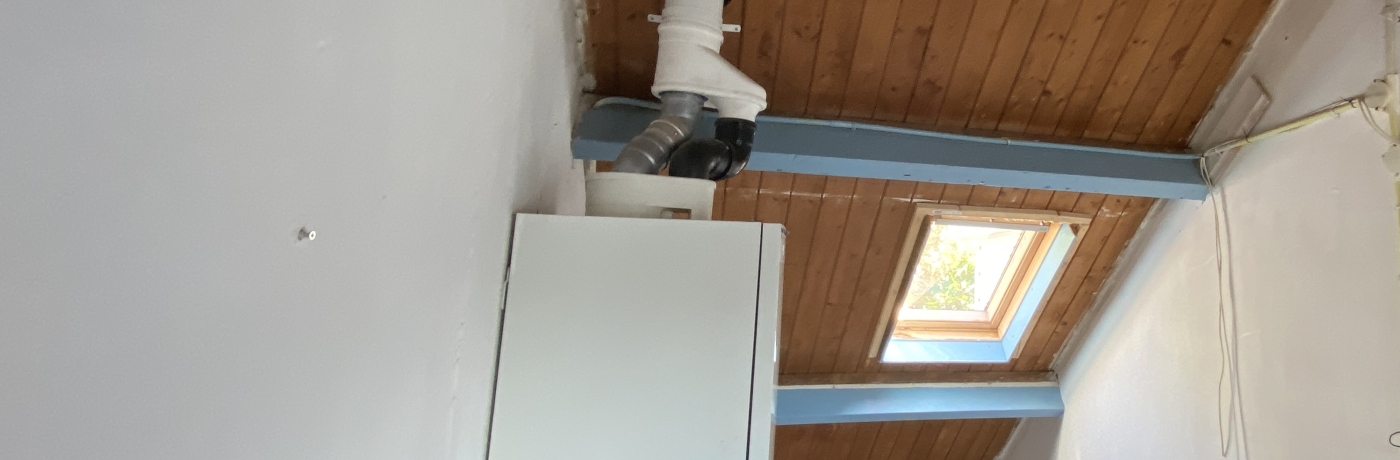
Purlins are horizontal beams that are part of your roof's load-bearing structure. They run parallel to the ridge (the highest horizontal line of the roof) and rest on the rafters or the walls of your house. Purlins, together with the rafters, form the skeleton of your roof on which the roof covering rests.
The primary function of purlins is to support the roof covering and to distribute the load across the entire roof structure. They ensure that the weight of roof tiles, snow, and wind is evenly distributed over the underlying structure.
Materials for purlins
Purlins can be made from different materials:
1. Wood: Traditionally, purlins are made of sturdy wood, such as spruce or pine. Wooden purlins are relatively light, easy to work with, and offer good insulation properties.
2. Steel: In modern constructions, steel purlins are often used. These are stronger than wood and can span larger distances. Steel purlins are also less susceptible to deformation and rot.
3. Glued laminated timber: This material combines the advantages of wood and steel. It is strong, stable, and has good insulation properties.
The choice of material depends on factors such as the size of your roof, the load it needs to bear, and local building regulations.
The role of purlins in roof insulation
Now that you know what purlins are, let's look at their role in insulating your roof. Purlins are crucial for effective roof insulation for several reasons:
1. They create space for insulation material
Purlins create space between the roof covering and the ceiling of the top floor. You can use this space to apply insulation material. The thicker the insulation layer, the better the insulation value. The distance between the purlins therefore partly determines how much insulation you can apply.
2. They support the insulation
Purlins provide a stable base on which you can attach insulation material. This is especially important for soft insulation materials such as mineral wool or natural insulation like hemp or flax. These materials need support to prevent sagging and maintain their insulation value.
3. They help create a breathable construction
A well-insulated roof must not only retain heat but also be able to wick away moisture. Purlins can help create a breathable construction by providing space for ventilation between the insulation and the roof covering.
4. They provide attachment points for finishing
After applying the insulation, you often want to finish it with plasterboards or wooden panels. Purlins provide sturdy attachment points for this finish.
Different methods of roof insulation with purlins
There are several ways to insulate your roof using the purlins. The choice depends on factors such as the type of roof, the available space, and your budget. Here are the most common methods:
1. Insulation between the purlins
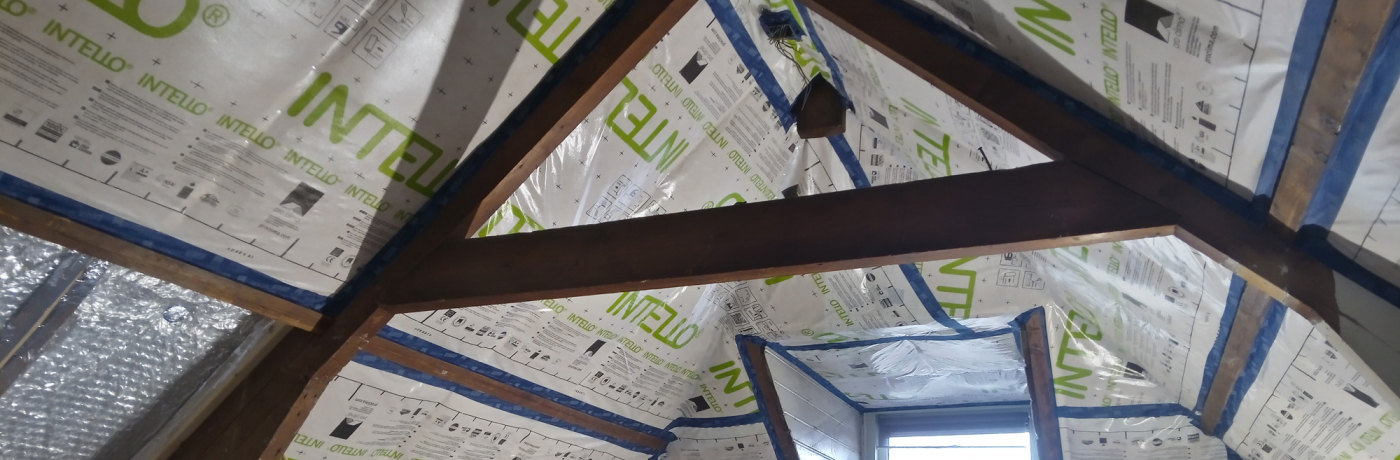
With this method, the insulation material is applied between the purlins. This is a popular approach because it leaves the existing roof structure intact and is relatively easy to carry out. The insulation material is cut to size and fits precisely between the purlins. It is then finished with a vapor barrier on the warm side (inside) and possibly a breathable membrane on the cold side (outside).
Advantages:
- Easy to carry out
- Preserves the original roof structure
- Cost-effective
Disadvantages:
- Insulation thickness is limited to the depth of the purlins
- Risk of thermal bridges where the purlins interrupt the insulation
2. Insulation under the purlins
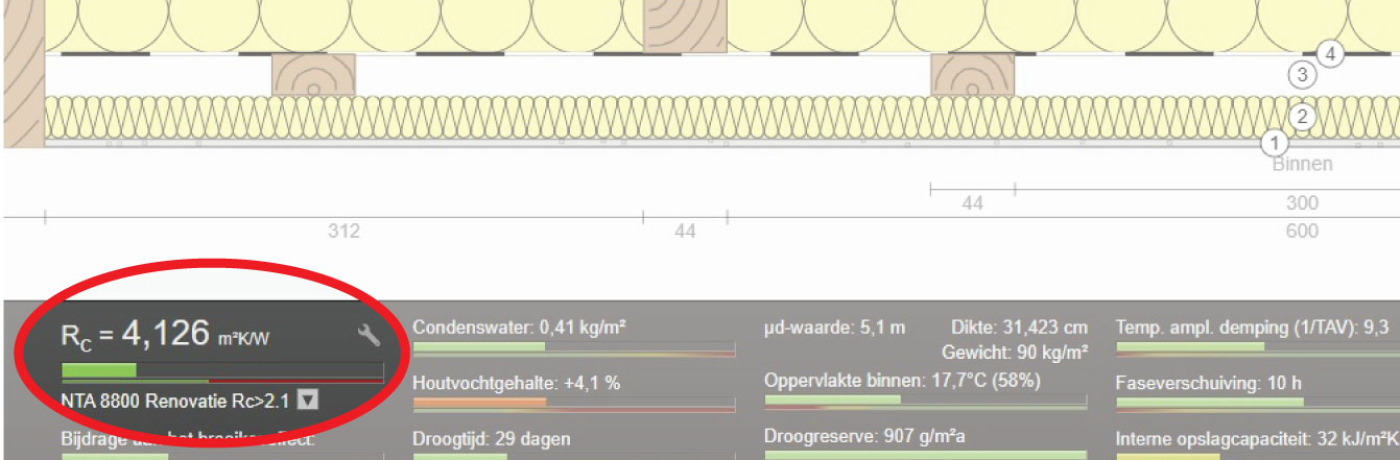
With this method, you apply an extra layer of insulation under the purlins. This can be a good option if the space between the purlins is already filled with insulation, but you want to increase the insulation value. You essentially create a second insulation layer.
Advantages:
- Significantly increases insulation value
- Eliminates thermal bridges at the purlins
- Can improve existing insulation without replacing it
Disadvantages:
- Reduces usable space in the room below
- Can be more complex to execute, especially with existing finishes
3. Insulation above the purlins
This method, also known as sarking, involves applying an insulation layer on top of the purlins, directly under the roof covering. This is a very effective method because it creates an uninterrupted insulation layer over the entire roof.
Advantages:
- Creates an uninterrupted insulation layer, eliminating thermal bridges
- Preserves interior space
- Protects the roof structure from temperature fluctuations
Disadvantages:
- Can be complex and expensive to execute
- Often requires adjustment of eaves, gutters, and other details
- Not always possible with existing roofs without major renovation
4. Combination of methods
For the best results, many homeowners combine these methods. For example, you can apply insulation between the purlins and an extra layer under the purlins for maximum insulation. Or you can opt for sarking in combination with insulation between the purlins for very high-quality insulation.
Choice of insulation material for purlins
Now that you know how to insulate with purlins, it's time to think about the insulation material. There are many options available, each with its own advantages and disadvantages. Here are some popular choices:
1. Mineral wool (glass wool or rock wool)
This is one of the most commonly used insulation materials. It is flexible, easy to apply between purlins, and offers good value for money.
Advantages:
- Good insulation value
- Fire resistant
- Sound insulating
Disadvantages:
- Can be irritating to the skin and respiratory tract during installation
- Performs less well when wet
2. PIR or PUR boards
These rigid foam boards provide excellent insulation in a thin layer. They are ideal for situations where space is limited.
Advantages:
- Very high insulation value per centimeter thickness
- Moisture resistant
- Lightweight
Disadvantages:
- More expensive than mineral wool
- Less flexible, more difficult to cut to size
- Less environmentally friendly
3. Natural insulation materials (wood fiber, hemp, flax, cellulose)
These materials are becoming increasingly popular due to their environmentally friendly properties. They are suitable for insulation between and under purlins.
Advantages:
- Environmentally friendly and